

we are going to be messing around with your blogger template html, so before you do you anything, i highly suggest backing it up!
template >> backup/restore
now go to your template >> edit html. scroll down and towards the bottom you are going to see the </body> tag.

copy the text below & paste it above that tag.
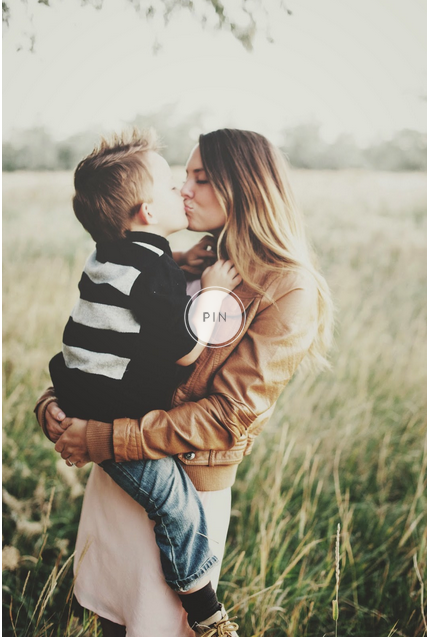
now we need to replace my custom pin link with yours. find http://i1221.photobucket.com/albums/dd466/emilyosborne3/pin4.png and replace it with your image direct link. {to get your image direct link, upload your design to photobucket and you'll be able to copy it from there}. don't delete the quotes, make sure and paste your link between them.

you can also adjust the position of your button. see right below your image link where it says "center" .. you can replace it with either:
hit SAVE TEMPLATE and you're done! your pin hover button should be hovering over your pictures forever more. holler.
oh yeah, and if you want, i've created a couple pin buttons with the direct link already attached for you to take and use. because i looove ya.


topleft
bottomleft
topright
bottomright
keep the words inside the quotes.hit SAVE TEMPLATE and you're done! your pin hover button should be hovering over your pictures forever more. holler.
oh yeah, and if you want, i've created a couple pin buttons with the direct link already attached for you to take and use. because i looove ya.


I tried to find the < / body> on my template and it couldn't. Is it because I have a custom template?
ReplyDeleteIt's towards the bottom.. click inside your template, hit CTRL + F and a search box will pop up. Type in < / body >, press enter and it will find it for you. It will be highlighted!
DeleteEvery template html should have this tag regardless of it being custom or not.. as far as I know!
Let me know!
look in lowermost!
ReplyDeleteThis is something every blogger needs to know how to do! Great post!
ReplyDelete